How to Share Medical Images Safely and Securely
Learn how to securely share your medical images in three simple steps. Streamline your process and protect your health data today.
How to Share Medical Images Safely and Securely
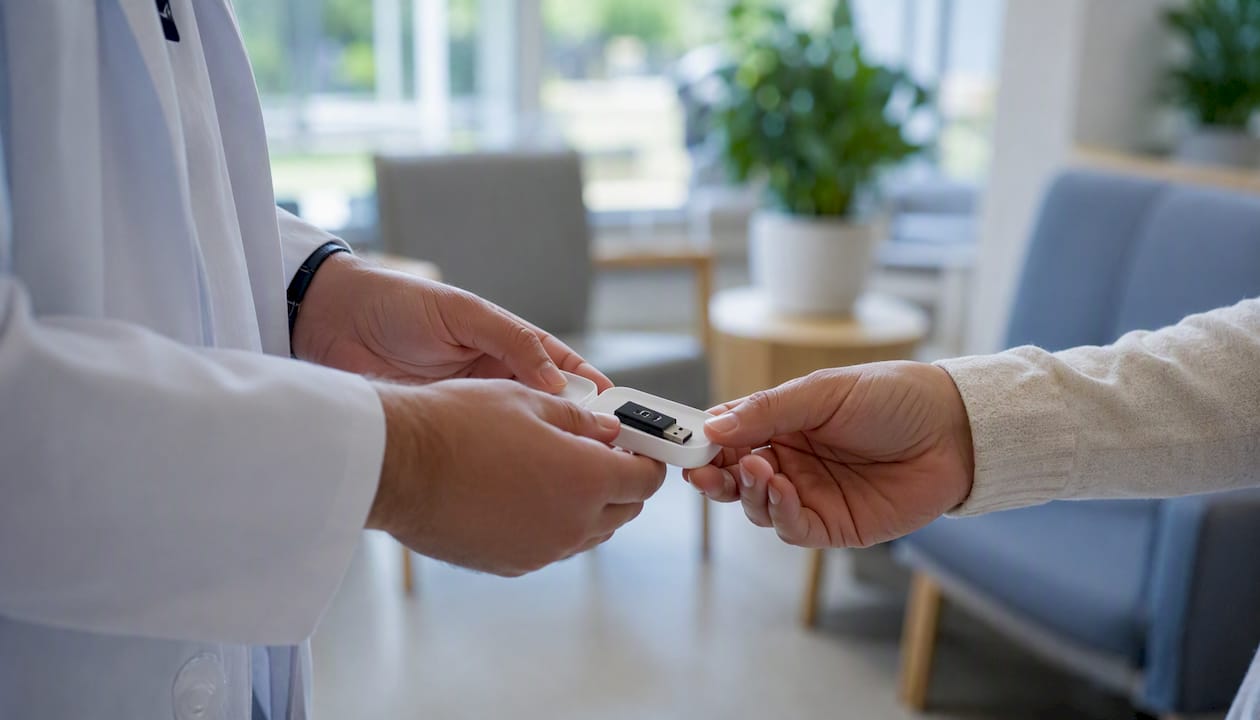
You can get a copy of your medical images from the imaging facility and share them securely today. The fastest route: call the radiology or medical records department, request your DICOM files on USB or ask for a secure portal upload link, then send that link directly to your receiving provider.
Three quick steps to get started:
- Call radiology or medical records at the facility where your scan was performed. Ask specifically for a DICOM export or a patient portal share link.
- Request your preferred format. DICOM files preserve every image slice and all metadata. A portal share link is often the fastest option for electronic delivery.
- Confirm your recipient’s method. Ask your new provider or specialist whether they prefer a portal link, a direct upload, or physical media.
Give the facility two identifiers when you call: your full legal name and date of birth, plus the study date or accession number (found on your appointment paperwork or the imaging report).
Pro Tip: Request a copy for yourself before handing any CD or USB to another facility. Facilities occasionally keep the original, leaving you without a backup.
Key Takeaways
Requesting DICOM files directly from your imaging facility and sharing them through an encrypted, access-controlled channel is the safest and most clinically useful way to transfer your medical images to any provider.
| Point | Details |
|---|---|
| Request DICOM, not JPEG | Always ask for original DICOM files plus the radiology report; JPEGs lose diagnostic data. |
| Verify before you send | Open files in a DICOM viewer to confirm all series loaded before transferring to a provider. |
| Use encrypted channels | Share through a patient portal, hospital image-share network, or HIPAA-ready platform with access codes. |
| Know your legal rights | HIPAA gives you the right to copies of your imaging studies; facilities must respond within 30 days. |
| Medfiles centralizes everything | Upload DICOM files to Medfiles once, then generate secure share links for any provider or family member. |
Table of Contents
- Why do patients request and share their medical images?
- How do you obtain your images from the imaging facility?
- How can you share medical images electronically and securely?
- What exactly should you request from the facility?
- How do clinicians actually view and use your images?
- What security and HIPAA considerations should you check before sharing?
- How long does it take, and what does it cost?
- How Medfiles helps you store and share your images in one place
- Patient control is the point
- Your images, stored and shared the way they should be
- Sources
Why do patients request and share their medical images?
The reasons go well beyond convenience. When you share medical imaging records with a new provider, you give them the full clinical picture without waiting for a repeat scan.
- Second opinions. A specialist reviewing your actual MRI slices can confirm or challenge a diagnosis with far more confidence than one working from a written summary.
- Continuity of care. Switching primary care physicians, moving to a new city, or seeing a specialist across a health system means your images may not follow automatically.
- Pre-operative planning. Surgeons often need prior imaging to compare anatomy, measure structures, or assess how a condition has changed.
- Emergency access. If you arrive at an ER with a known condition, having your prior scans available can prevent dangerous delays.
- Telehealth and remote visits. HRSA telehealth guidance highlights how rural and remote patients especially benefit when images are available digitally before or during a virtual visit, reducing the need for travel.
Statistic to know: RadiologyInfo notes that keeping a personal health record with your imaging studies and radiology reports helps providers make faster, better-informed decisions and reduces the likelihood of duplicate scans.
Avoiding a repeat scan matters clinically and financially. Repeat imaging means additional radiation exposure, additional cost, and additional delay before treatment begins.
How do you obtain your images from the imaging facility?
The process is more straightforward than most patients expect. RadiologyInfo confirms that patients have the right to request copies of their imaging studies, typically available on CD, USB, or via a patient portal download.
- Identify the study. Gather the imaging date, modality (MRI, CT, X-ray, ultrasound), and accession number from your appointment paperwork or the facility’s patient portal.
- Contact radiology or medical records. Call or visit in person. Many facilities also accept requests through their patient portal (MyChart is common) or by email.
- Complete an authorization/release form. This is a HIPAA requirement. The form authorizes the facility to release your protected health information. You can often download it from the facility’s website.
- Choose your media format. Options typically include CD, USB drive, a portal download, or a secure electronic transfer link. Request DICOM format specifically.
- Confirm the receiving format is DICOM. JPEG exports or printed films lose diagnostic data. DICOM preserves every image slice plus embedded metadata (patient name, study date, acquisition parameters).
- Pick up or receive your link. Physical media is usually ready within a few business days. Portal downloads or secure links are often available the same day or next day. Some facilities, like NYU Langone Health, provide patient-facing “view and share” pages where you can download studies or generate shareable links directly.
Typical fees: Many facilities provide the first copy free or for a nominal fee (often under $25). Fees vary by institution and state. Some charge per-page rates for printed records but waive fees for electronic copies. Ask specifically about electronic delivery, which is frequently cheaper.
Pro Tip: Before you leave the records office or open a downloaded file, verify the study opens correctly in a DICOM viewer. Free zero-footprint viewers like Horos (Mac) or RadiAnt (Windows) let you confirm the files are complete before you hand them off.
How can you share medical images electronically and securely?
Electronic sharing is faster and safer than physical media when done correctly. The key is choosing a method that encrypts data in transit and at rest, and that gives you control over who can access the files.
Comparison of common sharing methods:
| Method | Encryption | Access Control | Best For |
|---|---|---|---|
| Patient portal share code | Yes (TLS) | PIN or login required | Sharing with a provider in the same or partner network |
| Hospital image-share network (e.g., PowerShare) | Yes | Provider login required | Cross-facility transfers without physical media |
| Secure cloud link with expiration | Yes (AES/TLS) | Access code + expiry | Sharing with any provider, including out-of-network |
| HIPAA-ready PHR platform | Yes (end-to-end) | Patient-controlled | Long-term storage and repeated sharing |
| Unencrypted email | No | None | Not recommended for full DICOM studies |
Inova’s PowerShare service is a clear example of how hospital-run image-sharing networks work: patients upload images or request an electronic transfer, and the receiving provider accesses the study through a secure, audited portal without needing a CD. The RSNA Image Share program takes this further, validating patient-facing tools that support secure image portability to patient-controlled personal health records.
Security checklist before you share:
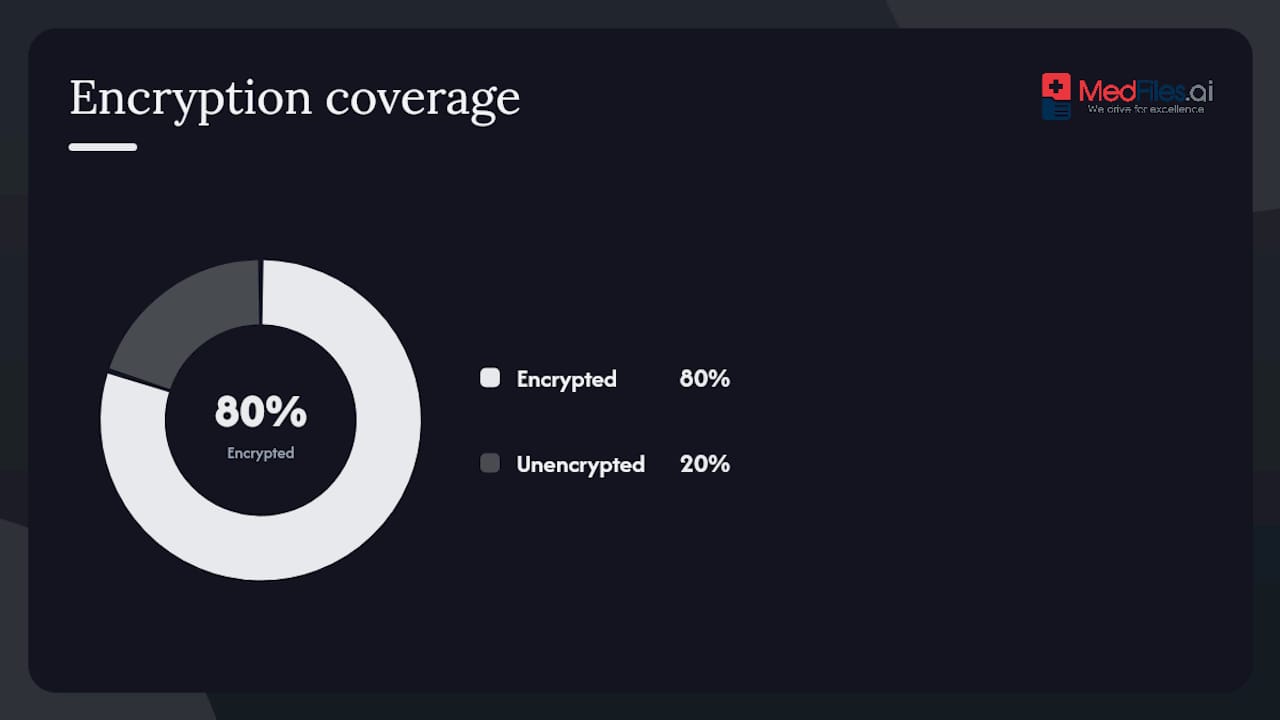
- Encryption in transit (TLS) and at rest (AES-256 or equivalent)
- Access codes or recipient login required
- Link expiration date set (a few days is standard for one-time transfers)
- Audit log available so you can see who accessed the file
- Recipient is authorized to receive protected health information
Unencrypted email is not appropriate for full DICOM studies. If a provider asks you to email images, request a secure alternative. Many hospital portals and HIPAA-ready platforms generate a time-limited link instead.
Pro Tip: When packaging a large DICOM study for transfer, use the platform-generated ZIP or share link rather than dragging individual files into an email attachment. A typical MRI study can contain hundreds of image slices, and a platform-generated link preserves the folder structure clinicians need.
What exactly should you request from the facility?
Getting the right files the first time saves you a second trip. Here is what to ask for:
- Original DICOM files (not JPEG exports or printed films)
- The radiology report (the written interpretation by the radiologist)
- Study date and accession number (needed for the receiving provider to log the study correctly)
- Referring physician name (helps the receiving facility route the study appropriately)
- All series in the study (some facilities default to exporting only selected sequences; ask for the complete study)
Once you have the files, prepare them for sharing:
- Name the folder clearly. Use a format like
LastName_FirstName_StudyDate_Modality(e.g.,Smith_Jane_2025-11-03_MRI-Knee). - Decide on anonymization. If you are sharing through a secure, authorized channel with a named provider, anonymization is not necessary. If you are posting images publicly for any reason, remove all patient identifiers first.
- Test the files before sending. Open the DICOM folder in a viewer to confirm all series loaded. A practical patient guide from OpenMyScan recommends testing files in a DICOM viewer before transfer and using the original DICOM folder or a hospital-generated ZIP rather than screenshots.
- Keep a local backup. Store a copy in a secure location before transferring the originals.
How do clinicians actually view and use your images?
Understanding what happens on the receiving end helps you send the right files. DICOM (Digital Imaging and Communications in Medicine) is the universal standard for medical imaging. A single MRI study can contain dozens of series and hundreds of individual image slices, each embedded with metadata: patient name, acquisition date, scanner parameters, and more.
Radiologists and specialists need the full DICOM study for several reasons:
- Tumor measurement. Precise millimeter-level measurements require the original pixel data, not a compressed JPEG.
- Surgical planning. Orthopedic and neurosurgeons use 3D reconstructions built from the full DICOM dataset.
- Prior comparison. Comparing a current scan to a prior one requires both studies in DICOM format so the software can align them slice by slice.
- Podiatry and orthopedic imaging. As Stride Foot & Ankle’s clinical imaging guide illustrates, even in specialized fields like podiatry, clinicians rely on full imaging studies to assess bone structure, alignment, and pathology accurately.
A JPEG screenshot or a phone photo of a screen is rarely acceptable for clinical decision-making. It may be useful as a quick visual reference during a phone consultation, but it cannot substitute for the original study when a provider needs to measure, annotate, or compare.
For remote and rural consultations, HRSA’s telehealth framework underscores that image quality and file format directly affect what a remote clinician can assess, making DICOM the right choice even for virtual visits.
Pro Tip: Ask the receiving provider’s office which DICOM viewer or system they use before you send. Some hospital systems require images to be uploaded to their specific platform (Epic, Sectra, Ambra) rather than received as a raw DICOM folder.
What security and HIPAA considerations should you check before sharing?
Your medical images are protected health information (PHI) under HIPAA. Before you send anything, run through this checklist:
- HIPAA-ready vendor statement. Any platform you use to store or transmit images should explicitly state HIPAA compliance and be willing to sign a Business Associate Agreement (BAA) if you are sharing on behalf of a covered entity.
- AES-256 encryption at rest and TLS 1.2 or higher in transit. These are the current baseline standards for PHI.
- Access controls. The recipient should need a login, PIN, or access code. Open links with no authentication are not appropriate for PHI.
- Audit logs. A compliant platform records who accessed a file and when. This protects you if there is ever a question about unauthorized access.
- Avoid unencrypted email. Standard email is not encrypted end-to-end. Use a secure sharing platform instead.
Federal interoperability policy, documented by Healthit, supports patient access to electronic health records and has driven the expansion of secure portal-based image access across U.S. health systems.
Your legal right: Under the HIPAA Privacy Rule, you have the right to access and obtain copies of your medical records, including imaging studies. Facilities are generally required to provide copies within 30 days of a written request, and they cannot withhold records because of an outstanding balance.
How long does it take, and what does it cost?
Timelines and fees vary by facility, but here are realistic expectations:
- Patient portal or electronic download: Often available within 24 hours of the request, sometimes the same day.
- Records office request (CD or USB): Typically 1–3 business days. Some facilities take up to 5 business days for older studies that need to be retrieved from archive.
- Mailed physical media: Add 3–5 business days for shipping on top of preparation time.
- Emergency or expedited requests: Most facilities will prioritize same-day or next-day release when you explain a clinical urgency. Ask to speak with the radiology department directly rather than the general records office.
On cost: Many facilities provide electronic copies at no charge or for a small administrative fee. Physical media (CD or USB) may carry a fee of $10–$25 or more depending on the institution. Some states cap fees for medical record copies. Always ask about the electronic option first, as it is frequently free and faster.
How Medfiles helps you store and share your images in one place
Managing DICOM files, radiology reports, and share links across multiple providers gets complicated fast. Here is how a HIPAA-ready platform like Medfiles fits into the workflow:
- Receive your DICOM files on USB or download them from your hospital portal.
- Upload to Medfiles. The platform organizes files automatically by study type and date, so your knee MRI from 2024 and your chest CT from 2025 are never mixed up.
- Generate a secure share link with an access code and expiration date. Send it to your specialist, second-opinion provider, or family caregiver.
- The recipient views the full study in a browser-based DICOM viewer or grants clinical access directly through the platform.
Key benefits for patients:
- HIPAA-ready infrastructure with end-to-end encryption
- Multi-profile management for your entire family, including dependents and pets
- Instant access during emergencies, travel, or telehealth visits
- WhatsApp alerts and health overview dashboards to track preventive care gaps
- AI-powered document analysis to help you understand your records
RadiologyInfo specifically recommends keeping a personal health record with your imaging studies and reports. Medfiles is built exactly for that purpose.
Pro Tip: When preparing for a referral or second-opinion appointment, share access to your full imaging history through Medfiles rather than sending individual files. Include the radiology report alongside the DICOM study so the reviewing clinician has both the images and the original interpretation in one place.
Patient control is the point
The most overlooked part of sharing medical images is documentation. Patients who track what they shared, with whom, and when are far better protected if a record goes missing or a provider claims they never received it.
Keep a simple log: the study name, the date you shared it, the recipient’s name and institution, and the method used (portal link, USB, platform share). This takes two minutes and has saved patients from repeating expensive scans they already paid for.
Being organized is not just about convenience. It is about staying in control of your own care.
Your images, stored and shared the way they should be
Medfiles gives you a single, secure home for every scan, report, and lab result you have ever collected. Instead of hunting for a CD from three years ago or emailing unencrypted files, you upload once and share instantly with any provider, anywhere.
The secure sharing feature generates an encrypted, time-limited link with an access code. Your provider gets the full DICOM study in a browser viewer. No software to install, no physical media to track down. And because Medfiles uses HIPAA-ready infrastructure with end-to-end encryption, your images stay private.
Start with a free trial, no credit card required, at Medfiles.
Sources
These sources provide official guidance on patient image access, secure sharing, and hospital-specific workflows:
- Obtain and Share Your Medical Images — RadiologyInfo
- Image Share — RSNA
- View and share radiology images — NYU Langone Health
- Inova Medical Image Requests - PowerShare — Inova
- Healthit
- Telehealth — HRSA
This article is general information, not a substitute for advice from a qualified doctor. Consult a qualified healthcare professional about your own circumstances before acting on anything here.