How to Scan Medical Records: Your 90-Minute Family Guide
Learn how to scan medical records efficiently in just 90 minutes. Digitize your health history and organize your family's information today!
How to Scan Medical Records: Your 90-Minute Family Guide
The fastest way to digitize your health records is a two-pass approach: download everything available from your patient portals first (about 30 minutes), then scan remaining paper documents in a second pass (another 60 minutes). That single workflow gets most families from scattered paper to a usable digital archive in one sitting.
Here’s what you can do in the next 30 minutes:
- Log in to every patient portal you have (MyChart, athenahealth, or your insurer’s portal) and download recent lab results, visit summaries, and imaging reports as PDFs.
- Photograph or scan any urgent paper records, like current medication lists and allergy documentation, using your phone.
- Create one folder per person and drop those files in, named by date and document type.
Your records are yours by law. Under HIPAA, you have the right to access your health information, and digital health records help caregivers centralize medication lists, vaccination records, and visit summaries to improve care coordination and emergency readiness. Medfiles is a HIPAA-ready option that handles secure storage, automatic organization, and sharing once your files are ready to upload.
Key Takeaways
Digitizing your medical records can be done in a relatively short time for a current single-person record set and may take a weekend for a full family archive, and your HIPAA right of access means providers must respond to formal requests within 30 days.
| Point | Details |
|---|---|
| Start with patient portals | Download recent labs, visit summaries, and imaging reports first — it’s free and immediate. |
| Use structured file names | Format as YYYY-MM-DD_PersonName_DocType so files stay searchable and sortable long-term. |
| Demand a BAA from any platform | Consumer cloud storage without a BAA is not appropriate for protected health information. |
| Build a one-page health summary | Keep current meds, allergies, diagnoses, and provider contacts at the top of each person’s folder. |
| Medfiles for secure family storage | Medfiles provides HIPAA-ready storage, automatic organization, and role-based sharing for families and caregivers. |
Table of Contents
- What does a fast two-pass workflow look like?
- How do you get copies of records you don’t already have?
- Which tools and settings produce the best scans?
- How should you name and organize your scanned files?
- What does “HIPAA-ready” actually mean for your storage?
- How do you share records safely with providers and caregivers?
- How do you keep records current and plan for emergencies?
- How long will this take, and what might it cost?
- What should you do when scans go wrong?
- What getting a parent’s records under control actually feels like
- Medfiles makes the workflow stick
- Sources
What does a fast two-pass workflow look like?
This plan works for one person or a small family. Budget 90 minutes total.
Pass 1 (0–30 minutes): Portals first
- Log in to each patient portal and navigate to the health records or documents section.
- Download labs, visit summaries, discharge notes, and imaging reports as PDFs.
- Save each file with a basic name: date, person, document type (more on naming conventions below).
- Repeat for each family member’s portal.
Pass 2 (30–90 minutes): Paper records
- Gather all paper records into one pile, sorted loosely by person.
- Scan or photograph each document (phone camera works for most pages).
- File into your folder structure immediately — don’t let a second digital pile form.
- Flag anything missing (older records, specialist notes) for a formal request later.
What “done” looks like: One folder per person, a one-page health summary at the top, and all recent records filed by category. A portal-first, summary-first approach is the fastest path to a usable family archive.
How do you get copies of records you don’t already have?
Start with portals. They’re immediate, free, and usually contain the last two to five years of records from that provider’s system.
For gaps, submit a formal written request.
- Ask your provider’s medical records department for a HIPAA release form, or write a brief letter requesting your complete electronic health file (not just a summary).
- Specify the date range and document types: labs, imaging, clinical notes, operative reports.
- Submit in person, by fax, or through the portal’s secure messaging feature.
Providers generally must respond to requests for health records within a set period under HIPAA regulations (https://www.hhs.gov/hipaa/for-professionals/privacy/guidance/access/index.html) and may charge a reasonable, cost-based copying fee. A single 30-day extension is permitted in limited circumstances.
For dependents and minors: A parent or legal guardian can typically request records on behalf of a minor child. For an adult dependent, you’ll need a signed HIPAA authorization or a durable power of attorney (POA) before a provider will release records to you. Keep originals of both documents in your archive.
Older records may require persistence. Providers are only required to retain records for a set period under state law, which varies. If a practice has closed, contact your state health department for guidance on locating archived files.
Which tools and settings produce the best scans?
Your phone is good enough for most documents. A flatbed scanner is better for anything fragile, faded, or multi-page.
- Phone scanning apps (like Apple’s built-in scanner in Notes, or Adobe Scan): fast, portable, and produce decent PDFs. Best for standard letter-size documents in good condition.
- Flatbed scanners: better for photos, old documents, or anything with fine print. Slower but more accurate.
- Multi-sheet document feeders: useful for large paper archives (50+ pages), but watch for skewed or double-fed pages.
Technical settings to use:
- Resolution: 300 dpi for standard documents; 600 dpi for imaging reports or anything with small text.
- Color mode: grayscale for text-only documents; color for anything with charts, images, or highlighted sections.
- File type: searchable PDF (with OCR enabled) for everything you’ll need to search or share. Use JPEG or TIFF only for photographic images where quality matters most.
- OCR (optical character recognition): turn it on. It converts your scan into searchable text, which matters when a provider needs to find a specific result quickly.
Pre-scan prep: Remove staples, flatten folded pages, and place documents face-down in consistent order. Add a simple cover page with the patient’s name and date of birth as the first page of each multi-document scan.
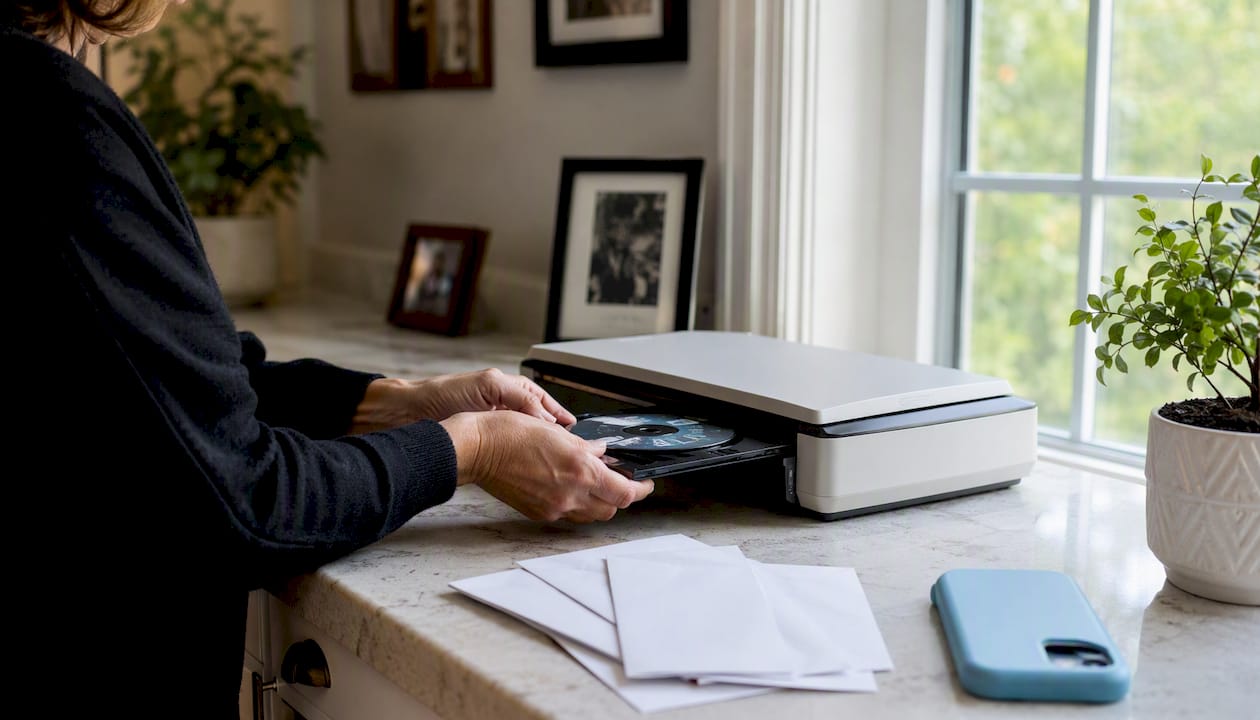
For imaging CDs or large radiology files, ask your provider for a DICOM export or a PDF copy of the report. Most radiology departments will provide one on request.
Pro Tip: After scanning, open each PDF and search for a word you can see on the page (like “glucose” or “diagnosis”). If the search returns a result, OCR worked. If not, rescan with OCR enabled.
How should you name and organize your scanned files?
A consistent naming convention prevents a second digital pile from forming six months from now. Machine-readable file names using a structured format make automated filing, searching, and long-term maintenance far easier than ad-hoc names.
Recommended format: YYYY-MM-DD_PersonName_DocType_OptionalStatus
Examples: 2025-11-03_JaneDoe_LabResults_CBC.pdf or 2024-06-15_TomSmith_DischargeSummary.pdf
Suggested folder structure:
| Folder | What goes here |
|---|---|
| /Medications | Current prescriptions, pharmacy printouts, dosage history |
| /Labs | Blood work, urinalysis, pathology reports |
| /Imaging | X-rays, MRIs, CT reports, ultrasound results |
| /Visit Notes | Office visit summaries, specialist notes, telehealth records |
| /EOBs | Explanation of benefits statements from your insurer |
| /Legal | POA, signed authorizations, insurance cards |
At the top of each person’s folder, keep a one-page health summary with:
- Current medications and dosages
- Known allergies and reactions
- Active diagnoses
- Primary care and specialist contact information
- Insurance ID numbers
- Emergency contacts
This summary is what you hand to an ER nurse or a new specialist. Organizing records for secure family access becomes much easier when every family member has this single reference document in place.
What does “HIPAA-ready” actually mean for your storage?
Not every cloud folder is appropriate for protected health information (PHI). A consumer service without a Business Associate Agreement (BAA) may not meet HIPAA standards, even if it uses encryption.
Minimum requirements to demand from any platform storing your health records: a signed BAA, encryption at rest and in transit, multi-factor authentication (MFA), role-based access controls, and audit logs showing who accessed what and when.
Platforms that host PHI should sign a BAA and provide explicit encryption and audit controls. Ask any vendor directly: “Do you sign a BAA?” If the answer is no or unclear, that platform is not appropriate for your health records.
Device-level controls to set up today:
- Enable full-disk encryption on your phone and computer.
- Use a strong, unique passcode (not a four-digit PIN) on any device that stores health files.
- Turn on MFA for every account that holds health data.
- Encrypt any local backups (iCloud and Google One both offer encrypted backup options).
For Medfiles’s security measures, including BAA availability and audit log details, the platform’s security page lists current controls.
How do you share records safely with providers and caregivers?
Sharing a login is never safe. It removes accountability and can expose records beyond what a caregiver needs to see.
- Use secure links from a HIPAA-ready platform when sharing with providers. Most platforms generate a time-limited, encrypted link you can send directly.
- Upload directly to your provider’s portal when the system supports it.
- Use encrypted email (like ProtonMail or your provider’s secure messaging system) only when no portal option exists.
For caregiver or proxy access, patient portals often default to broad access, and playbook guidance recommends tiered, role-based access with unique logins for each proxy to protect privacy.
Documents providers commonly require for proxy access: a signed HIPAA authorization form, a copy of a durable POA (for adult dependents), and in some cases a court order for guardianship. Keep originals and upload scanned copies to your archive.
For safe sharing with providers, Medfiles supports role-based access so a caregiver can see what they need without accessing private clinical messages.
How do you keep records current and plan for emergencies?
Routine maintenance (after each major visit):
- Download the new visit summary from the portal within 48 hours.
- Update your one-page health summary if medications or diagnoses changed.
- Verify that contact and insurance information is still current.
Backup strategy:
- Keep one encrypted cloud backup (your HIPAA-ready platform counts).
- Keep one printed copy of the one-page health summary in a known, accessible location at home.
- Choose platforms that let you export your full archive as a PDF or ZIP file. Data portability matters if you ever switch platforms.
Designate one trusted person as your emergency access contact and walk them through how to find and open the records. Test that access once a year.
How long will this take, and what might it cost?
| Path | Time estimate | Likely cost |
|---|---|---|
| Portal download only (recent records) | 30–60 minutes | Free |
| Full current record set, one person | 60–90 minutes | Free to minimal |
| Comprehensive archive, one person | 90 minutes | Provider copy fees possible |
| Full family archive (2–4 people) | One weekend | Provider copy fees + platform subscription |
Cost notes:
- Patient portals: free.
- Formal HIPAA record requests: providers may charge a reasonable, cost-based fee. Fees vary by state and provider.
- HIPAA-ready platforms: most offer free trials; paid tiers vary by storage and features.
- PHR platforms can consolidate records across institutions, but adoption sometimes requires extra effort to get provider cooperation.
What should you do when scans go wrong?
Blurry or skewed scans: Rescan with the document flat and well-lit. Most phone apps have an auto-crop feature; use it. If a page is still unreadable, photograph it in bright natural light as a JPEG, then convert to PDF.
Large imaging files or CDs: Ask the radiology department for a PDF of the report and a DICOM export of the images. Most will provide both. If the CD reader on your computer is gone, many public libraries have optical drives.
- For hard-to-get legacy records, submit a written request with a signed authorization and follow up by phone after two weeks.
- If a provider is unresponsive, file a complaint with the HHS Office for Civil Rights, which enforces HIPAA right-of-access rules.
- For caregivers managing autism documentation or complex neurodiverse records, detailed treatment-response logs and medication histories require the same structured naming and folder approach, with extra attention to behavioral observation notes.
Pro Tip: After completing a batch of scans, open five random files and verify the text is searchable and the pages are in the right order. Catching errors in batches is faster than finding a corrupted file during an emergency.
What getting a parent’s records under control actually feels like
My mother had records at four different providers, a stack of paper EOBs, and a medication list written on a sticky note. The first pass took about 45 minutes: three portal logins, 12 PDFs downloaded, filed by date and category. The paper stack took another hour, mostly because two documents were water-damaged and needed careful flattening before scanning.
The obstacle was her cardiologist’s older system, which didn’t have a portal. A written HIPAA request and a two-week wait got us the full file.
The payoff was immediate. At her next appointment, her new internist asked for a medication history. Instead of reconstructing it from memory, we pulled up a clean PDF on a phone in under 30 seconds. That’s the real outcome: not a perfect archive, but one that works when it needs to.
PHR adoption improves when caregivers get hands-on support to link provider records. You don’t need to be technical. You need a clear starting point and 90 minutes.
Medfiles makes the workflow stick
Once your records are scanned and named, you need somewhere secure to keep them. Medfiles gives families a HIPAA-ready home for every document in the archive: upload from your phone or computer, and the platform automatically organizes files by type and date. No manual filing required.
Multi-profile management means one account covers your whole family, including dependents and pets. Role-based sharing lets you give a caregiver or specialist access to exactly what they need, with audit logs tracking every view. Encryption at rest and in transit, MFA, and BAA availability are built in, not add-ons.
For families who want secure document storage and automatic organization without building a folder system from scratch, Medfiles handles the structure. Start with a free trial at Medfiles — no credit card required.
Sources
- Medical Records: Getting Organized | Johns Hopkins Medicine
- Chapter 4 - Patient Engagement Playbook
- The Feasibility and Utility of a Personal Health Record for Persons With Dementia and Their Family Caregivers for Web-Based Care Coordination: Mixed Methods Study
- How to organize medical records at home | Granite
This article is general information, not a substitute for advice from a qualified doctor. Consult a qualified healthcare professional about your own circumstances before acting on anything here.